
A How-To on Perfectly Lived-In Waves

This look is my favorite everyday style, and as we know, it’s harder to achieve than it seems! While it may look low-maintenance and effortless, it takes a whole routine in and of itself to get my thick/frizzy hair to cooperate. After much trial and error, I pretty much have this routine down. I typically shampoo/condition my hair the evening of the third day of wear. These waves last pretty well with very minimal touch-ups in the morning. So here we go — I’ll be discussing everything (warning: it gets specific) from products and hair styling tools to curl methods (v important), let’s get to it!
MY ROUTINE FOR PERFECTLY LIVED-IN WAVES
Wash and prep hair.
As I mentioned, I like to wash my hair in the evenings so that I can leisurely let my hair air dry a bit before bed (lazy, plus it helps with the styling process). After washing, I apply this and this to my hair. If your hair is on the finer side, I would tread lightly so as to not get things too greasy. Tip: I only apply my product from a little bit above the ears and down. This helps things not get too oily over the next few days.
Give yourself an at-home blow out.
Now that the hair is prepped and has air dried a bit, it’s time for the secret weapon. The not-so-secret tool that everyone has been talking about online, but rightly so because it’s just that good. Enter: the Revlon Blow-Dry Brush. This thing gives volume in all the right places, de-frizzes, and provides the perfect blow-out base to add a few bends in the hair. This is the all-star of the look for me — and I got mine for around $35 bucks on Amazon. You could use a round brush and blow dryer, but it’s just so quick and easy with this tool if you don’t already have it, just do it. It’s best to use this tool in sections. I split my hair by putting it half-up, and I use the brush on the bottom half, followed by the top. Did I mention this tool is super speedy? This entire process is so quick. It is best to let your hair air dry slightly first as mentioned because this tool doesn’t do as great on wet roots.
Add in the style.
Now that your hair is bouncy and perfect, it’s time to add in the wave. If you’re like me and you have thick/frizzy hair, it might be helpful at this point to run through a few pieces/sections with a flat iron to get any stubborn pieces while your curling iron/wand heats up. I use this flat iron.
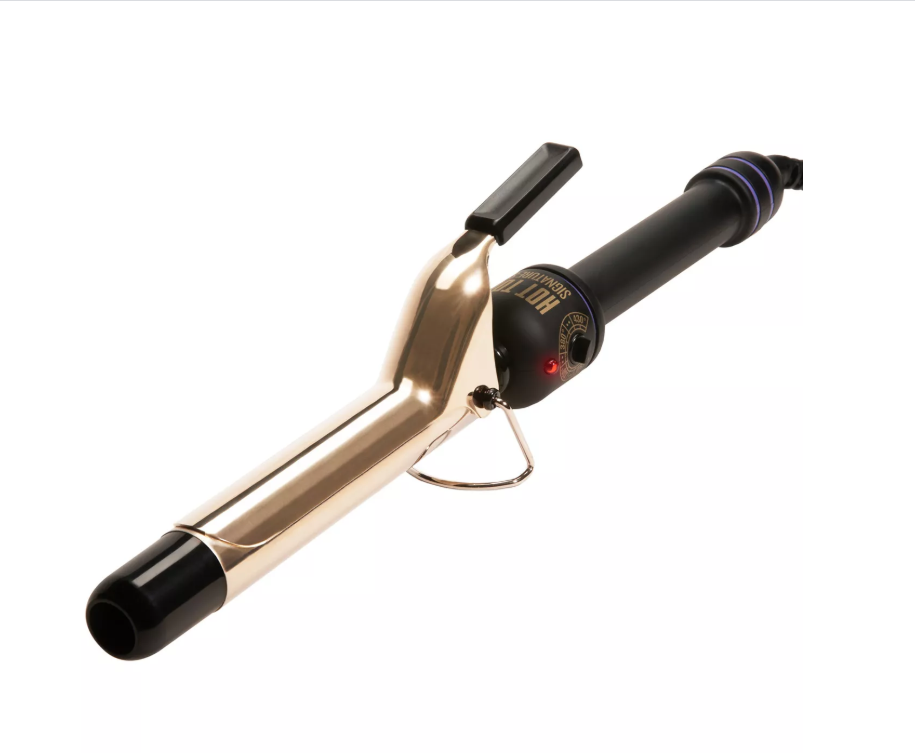
Now for the curling tool, I think it is best to use a smaller barrel for this look — I would suggest a 1 inch to 1 1/4 inch — this may seem counter-intuitive. My reasoning is larger barrels, although they may produce the wave you want at first, tend to fall quickly. If you use a smaller barrel and hold it for just a few seconds, the result is a much longer-lasting wave that has the perfect bend (rather than a pageant curl that big barrels tend to give).
Start by sectioning off half your hair in a bun on top of your head. Take a section that’s about 1 1/2 inches wide and wrap it around the wand. Now, this is hard to describe in written form, but you want to hold for just a few seconds but with firm tension. The best way I can think to describe this is: hold the wand at an angle, wrap the hair around the barrel, holding on the ends of the hair, and pushing the wand against the hair with tension for just a few seconds. Shake it out upon releasing and move to the next section and reverse the direction you wrapped in. Do this all the way around the two sections, letting the bottom section cool before letting down the top half.
Finish with the right products.
Gone are the days of just blasting hairspray at your hair — this look is all about being soft and tousled. Using some lightweight cream or oil, rub between the hands to distribute evenly and lightly scrunch to enhance the wave. I do this in a piece-y and haphazard way. Then finish with texturizing spray for soft but defined hold. I tend to also spray a little extra texturizing spray at the roots/crown to give a slight lift.
There you have it — this will last you for a few days, which is what we want. Low maintenance, but polished. Below are some of the products I mentioned to really help you nail the look. Let me know if you try this or have a different method you swear by — this is the one for me!


xAshley